I finally had time to give the second half of the testing a go.
For the first half click here.
As a recap, I have already found that FP4 with D23R in my hands is around about ISO80. That’s great, set it for 80 on the camera, bung my shadows in Zone 3 and we are golden!
Well not quite.
The next problem is that by setting the film for 80, I need to ensure that my highlights don’t blow out to complete white.
However there is a way to deal with this
Expose for the shadows, Develop for the highlights
Until very recently I’d nod, rub my chin and say…yes. Expose for shadows and other stuff.
It didn’t register what either of those actually meant. I have been exposing for the shadows by literally exposing for the shadows. Placing them on middle grey or “Zone V”.
Yes. I’m a dumbass.
This has also meant that my highlights were always hugely blown out. To say that this has left me often very crestfallen is an understatement. What you’re supposed to do is take a meter reading for the shadows (which gives you a Zone V reading) and then manually dial back 2 stops to get those shadows into Zone III.
BUT now that I know where I went wrong I can fix it for future images. Or rather I can make completely new mistakes. As I tell my student at work:
I don’t care if you fuck up. Just don’t fuck up the same way twice.
Following on from the first FP4 test, I had identified that in my hands with my developer (D23R) I need to shoot it at ISO80 because in the development I lose about a third of a stop (as determined by my printing times). Awesome. So far so good.
This means that to ensure my highlights don’t blow out and register as complete white on the papar, I need to work out my development time after it was shot on ISO 80.
This means it is back to the backyard in an evenly lit situation to shoot another frame but this time instead of increasing the shutter speed 4 stops, I need to open out the shutter 4 stops. If I meter for Zone V this should give me around Zone 9 which is highlights/whites with just a hint of grey. Essentially if I was to print for 12 seconds using post 1s setup, I should be able to tell a subtle difference between that frame and the white of the paper.

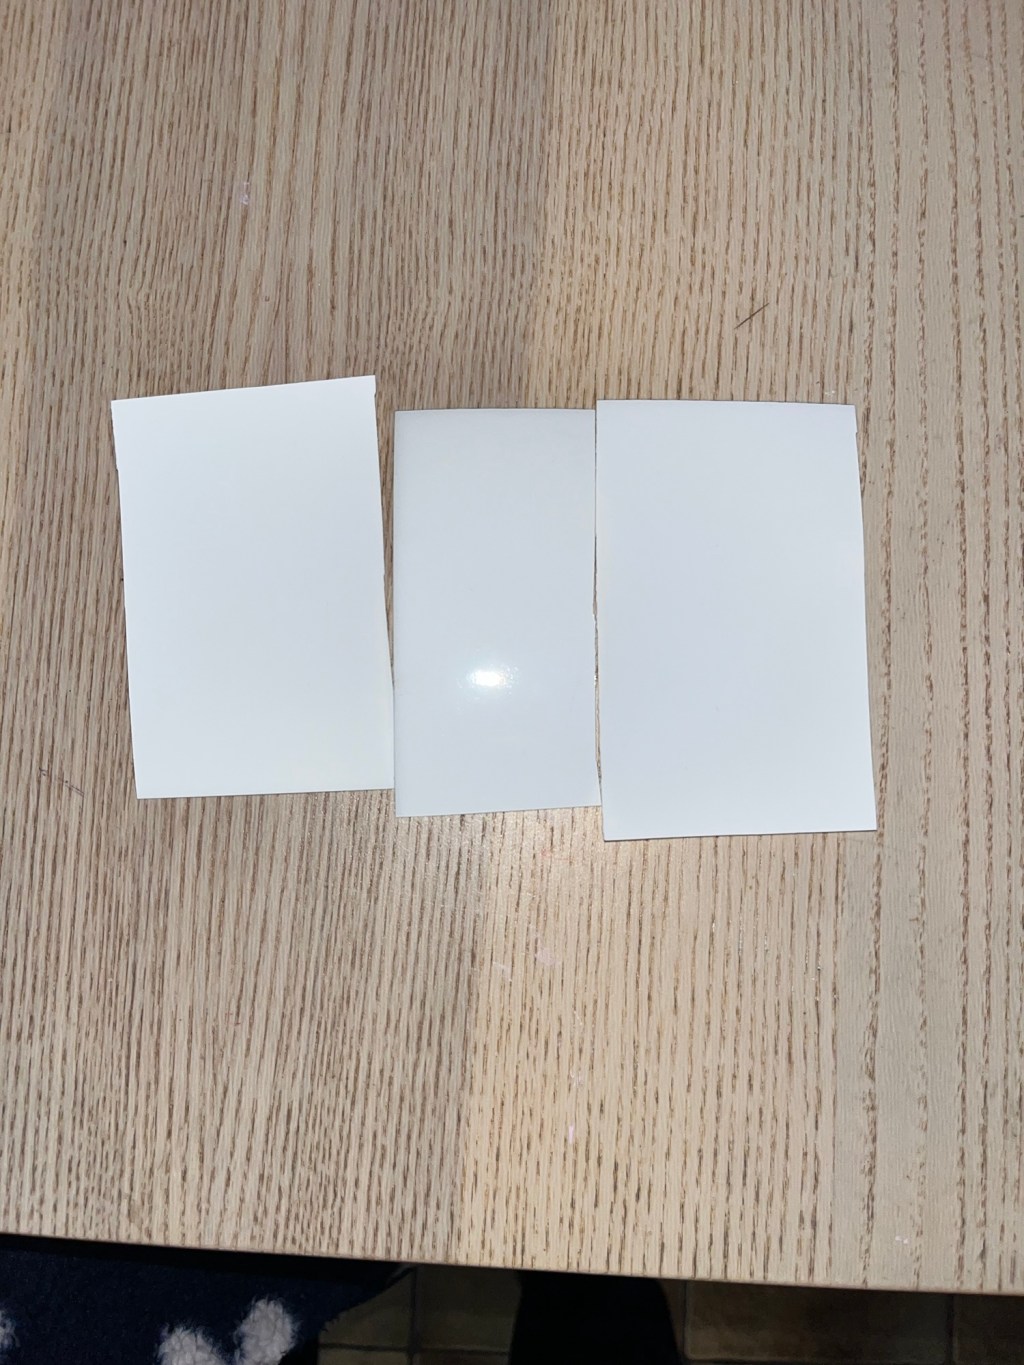
In the above image I exposed half the test strip and kept the other half covered.
My first mistake was not realising I was printing at F11 and not F8 as worked out in the previous post (whoops). So yeah, first strip is that F11. The second strip was a redo but at F8 this time still nada. And the third strip…I forget. I think it was a repeat of the second strip just to be sure. And apparently I like throwing good money after bad.
It was at this point I went over my development strategy and realised where I went wrong.
My original time of 8 minutes was just an educated guess from the internet but seemed like a good place to start, and actually should be pretty bang on according to others. BUT as I was developing I decided to do it properly and measure my time halfway through an adjust based on the reading. This. This is my stupidity.
It read 21C. So 1 degree higher, which meant I needed to add 10% of the development time to ensure I kept in sync with my 8 minutes.
Wrong. So very wrong. I needed to decrease development by 10%. So in actual fact I developed 2 stops over my actual intended time. This explains the blown out Zone IX making it a zone XI.
I realised I screwed not up because cheated and actually developed a second roll at the same time and those negatives were dense…oh boy were they dense and I don’t remember making such a rookie error like that. This is why I went back and checked my developing.
On the plus side, when taking the images on the test roll, I finished it with pictures of my dog and so got something usable out of it. So there’s that.
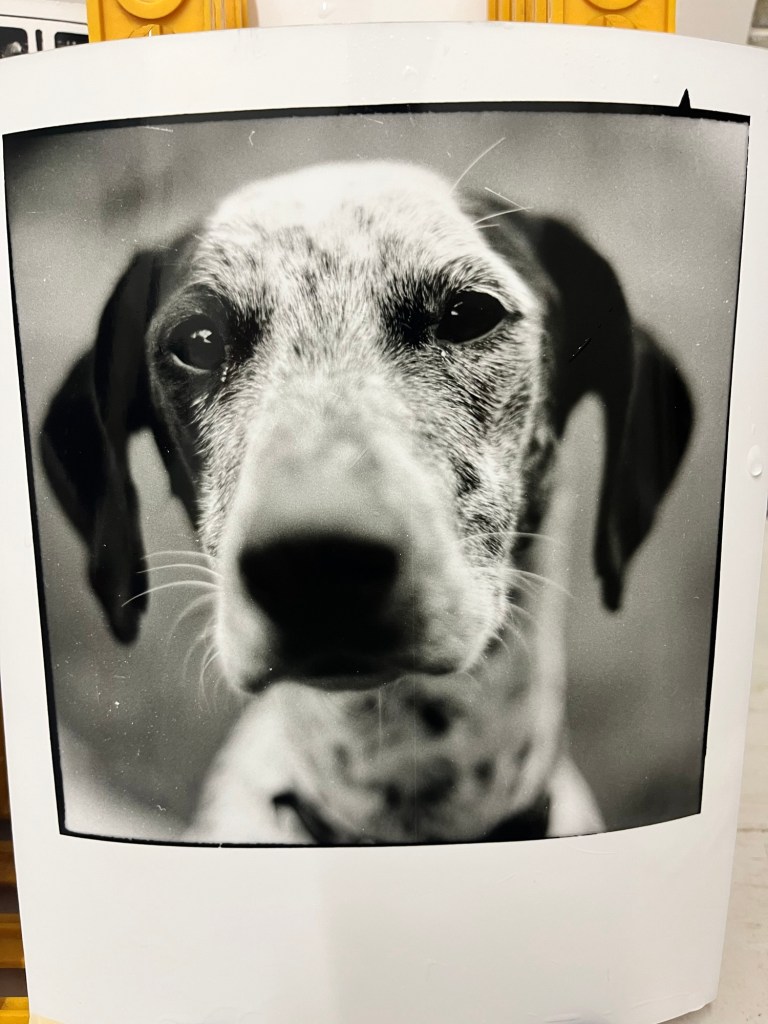
Split toning this print made it really easy to get the right exposure (or atleast , a good looking print). The full post was one from before.
I digress.
Now it was time to reload my camera and go through the rest all over again.
For the test it’s back to my water heater which is grey (probably not 18% grey but who cares) in flat even lighting. Trusty EOS33 at the ready and again, meter for zone V, then add 4 stops to Zone IX.
Finally it was back to developing for 8 minutes and then onto the darkroom to see if I get the faintest of grey in the white test strip. Hopefully I only have to do this once.
I don’t have any pictures for this but but essentially yeah, turns out about 8 minutes is exactly where I need to be to get the faintest of information in my highlights.
So that’s it then.
In D23, I’m shooting FP4 at ISO 80 and developing for 8min.
That being said this is all for printing in MY enlarger at a given height, lens combination.
Due to a renovation we are planning I have had to pack my enlarger up at the moment (District Darkroom Coburg and Melbourne Camera Club Darkroom for the Win!) so these tests at the moment are meaningless for those enlargers. Having said that, whatever enlarger combo I’ll be using, my negatives should now print well!

Leave a comment