Last week I shared an image that I shot with the new to me Zeiss Ikon Nettar of a waterfall at Edgar’s creek. Which is near to where I live. I had finally managed to sneak some time into the darkroom to actually print this up and I think it turned out ok.
I’m an incredibly impatient person (character flaw I’m working on), so when I shoot a roll of film I instantly want to see all the images straight away. Usually my hatred for scanning wins out and they will sit in their sleeves once they’ve been developed, until I can get time in the darkroom to make a contact sheet. Something I’m not often able to make straight away.
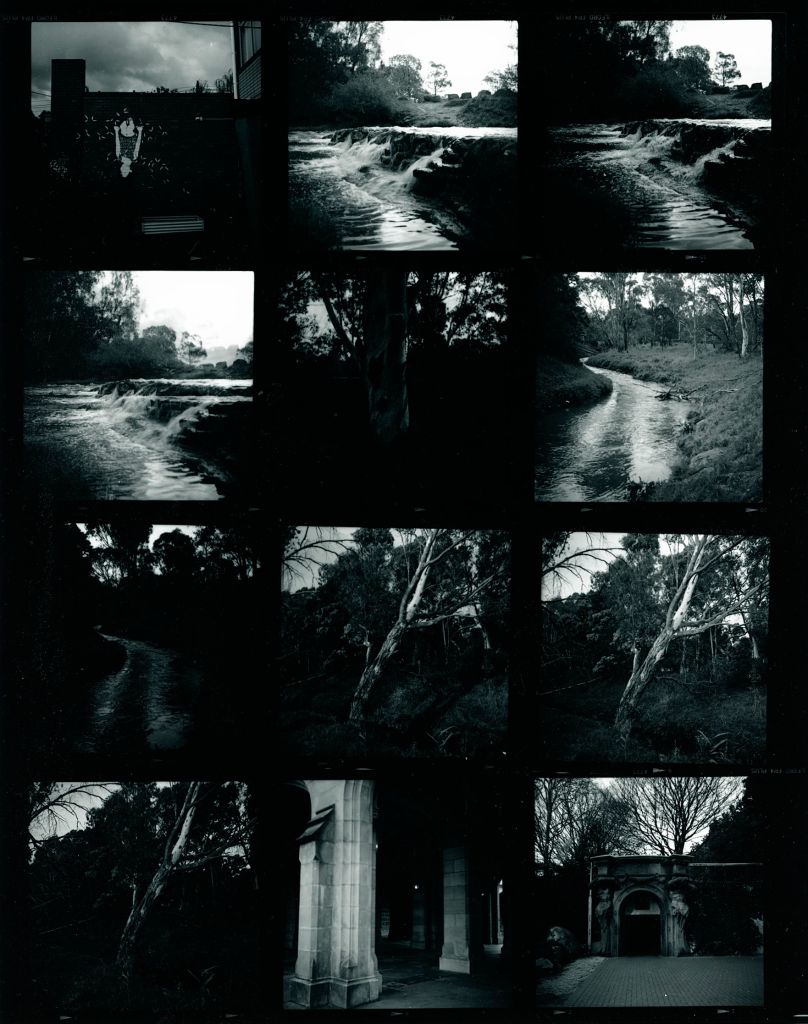
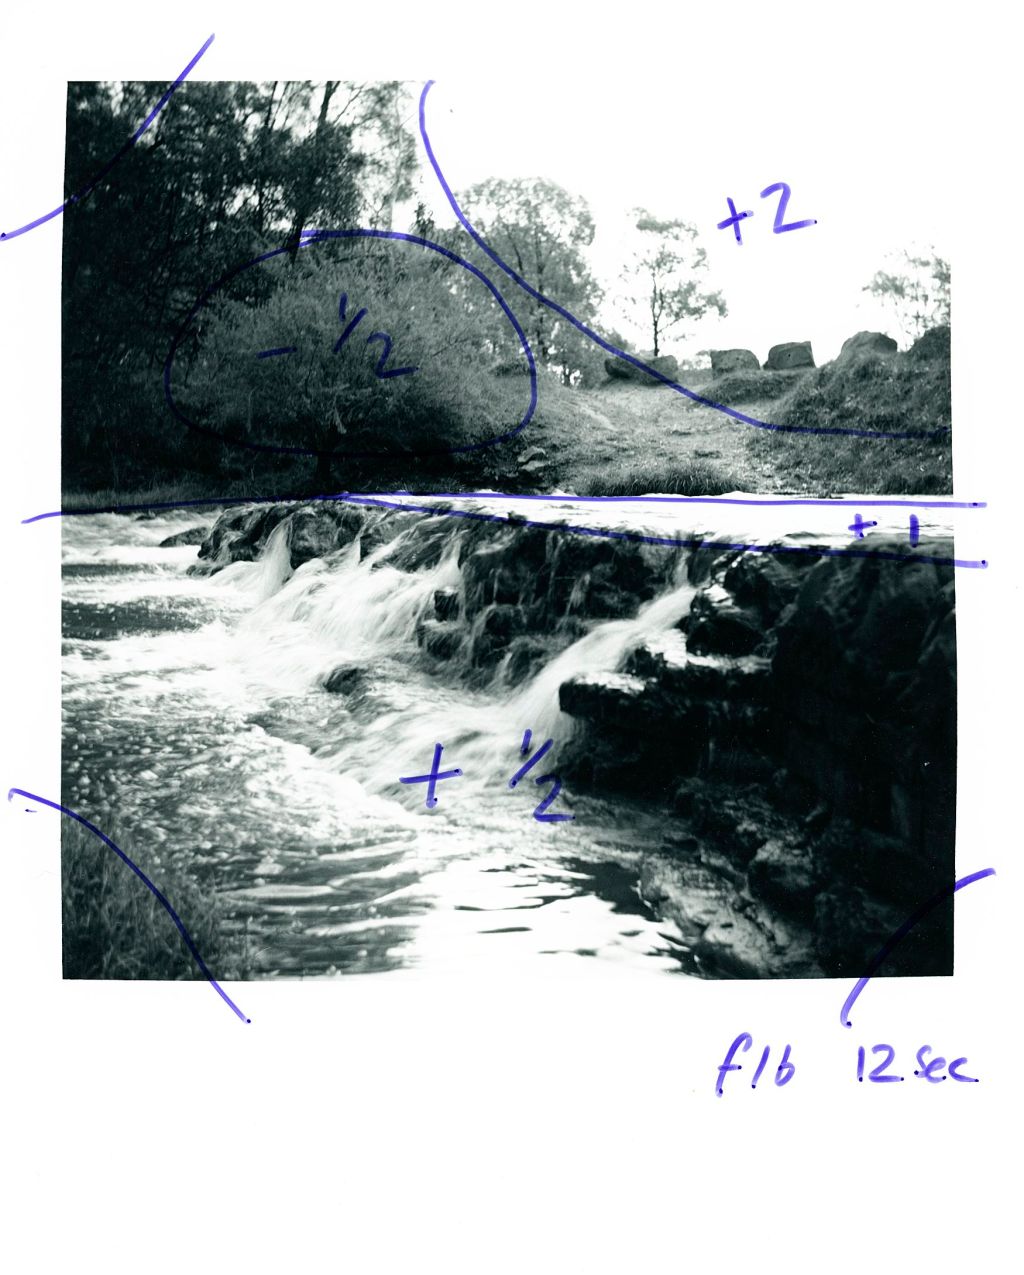
As I said in the caption, there’s something not right about this contact sheet. It’s not that I think the images have been over exposed or event over developed. The scans come back beautiful of the roll. The contrast is perfect. But for some reason I’m getting crazily intense blacks with my enlarger at just 5 seconds on grade 2. Which is weird because all my previous testing has suggested at the same enlarger height, grade and aperture (f8) I needed to at least 12 seconds. No idea what’s going on here.
Anyway I made this contact sheet and rather than allow it to dry and ruminate on the possibilities, I chose to print one I had already been editing. As I said above, I am trying to work on this character flaw and so I decided to make a proper proof print. After choosing 2 second increments and running an fStop based test strip, I chose 3 seconds at f8 for my print. which is utterly ridiculous. So I moved up (down?) two stops on the enlarger to f16. This gave me 12 seconds to play with at grade 2.
I did try to also split grade print this but I ballsed it up something chronic so decided to go back to a proof print. The plan was to create an image on the paper that I can mock up what the edits will be.
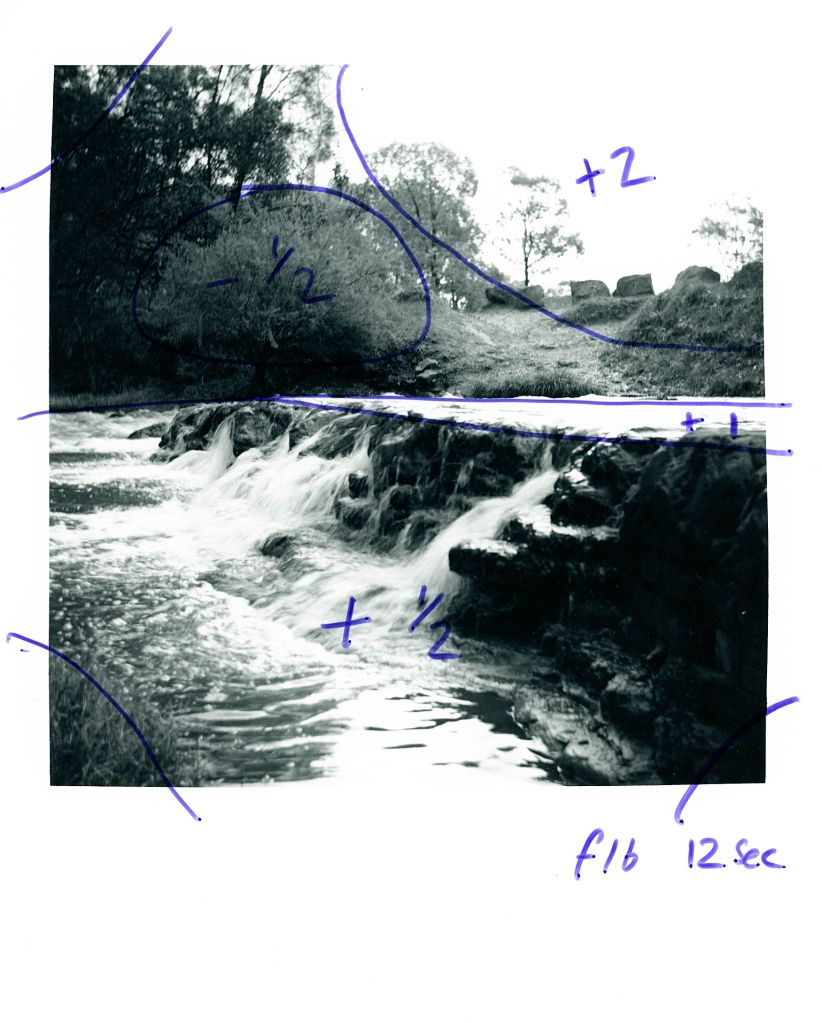
By printing in this manner I can also have a copy that acts as a hard proof print and allows me to print to any size. The idea is to save paper and dial in my settings as close as possible. In reality I think I used close to 10 or even 12 sheets of paper to get to my final prints becuase again, my impatience won out and I tried to fix everything in one go. I should have made test strips and worked out each section methodically.
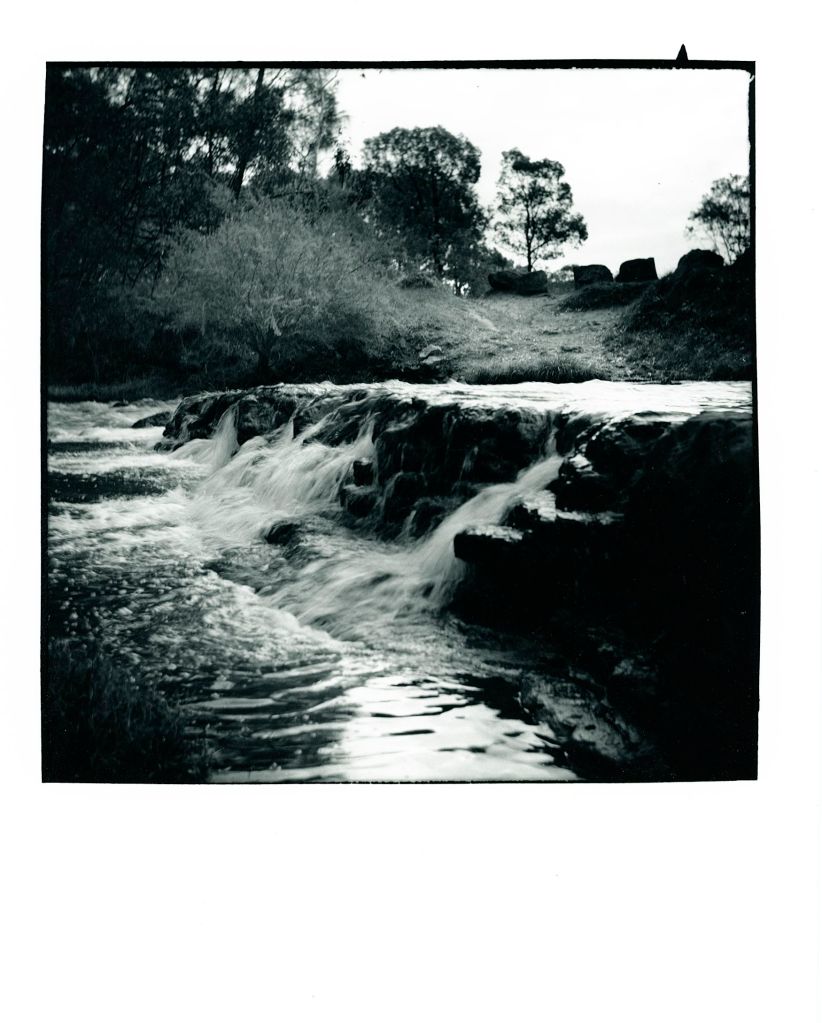
I FINALLY maganged to get an image I was happy with and wrote the edits down on the proof print (in this case I had to wait until it was dry and I had finished), resulting in the following image:
What are your thoughts?
Heres the scanned and digital version of the same image:
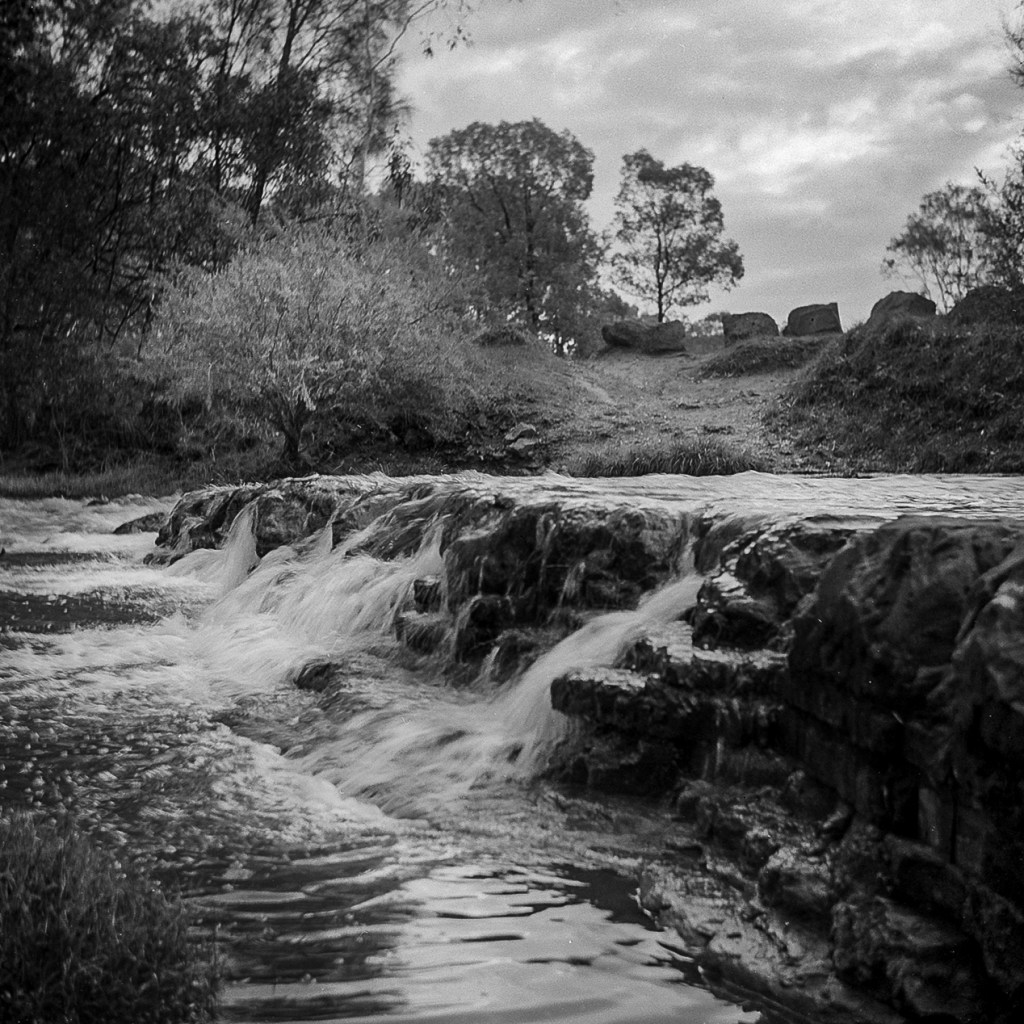
I don’t know which version I prefer. I’ve gone much darker on the printed version and maybe I could pull it back a touch?
What do you think? Should I reprint this with a lighter foreground? Maybe a base exposure of half a stop less would help? Or does the image work as is?
I’d love to hear your thoughts!

Leave a comment