I have been interested in Ray Man’s work since about 2017 when I discovered some of his solarisation work. At the time I was starting out in my darkroom work I figured, let’s give that a go!
This post was also inspired by the Man Ray and Max Dupain exhibit currently at Heidi. I highly recommend going!
I have since learned that Lee Miller, his assistant, lover and all round excellent photographer in her own right, may have produced many of his images and/or be responsible for the initial discovery.
I have fallen in and out of love with Man Ray’s work over the years but I couldn’t pass up the opportunity to go see a joint exhibition of his work with Australian photographer Max Dupain, of whom I knew little about.
Over the years I’ve tried and failed to find my own inner Man Ray on most accounts, but occasionally I’ve managed to get some real gems. Mostly though they’re more Rayman – the 90s french computer game where he has no body and just hands feet and a face – a little bit weird.
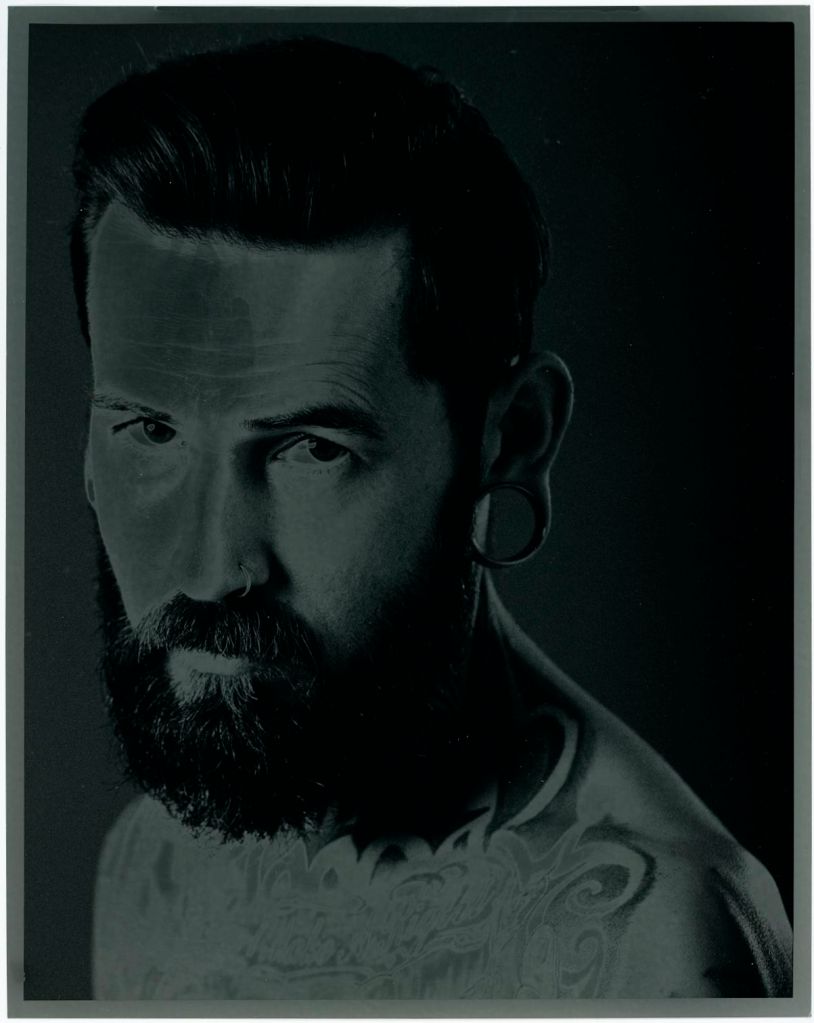
I also tried it with people
and lastly I’ve tried it with buildings….
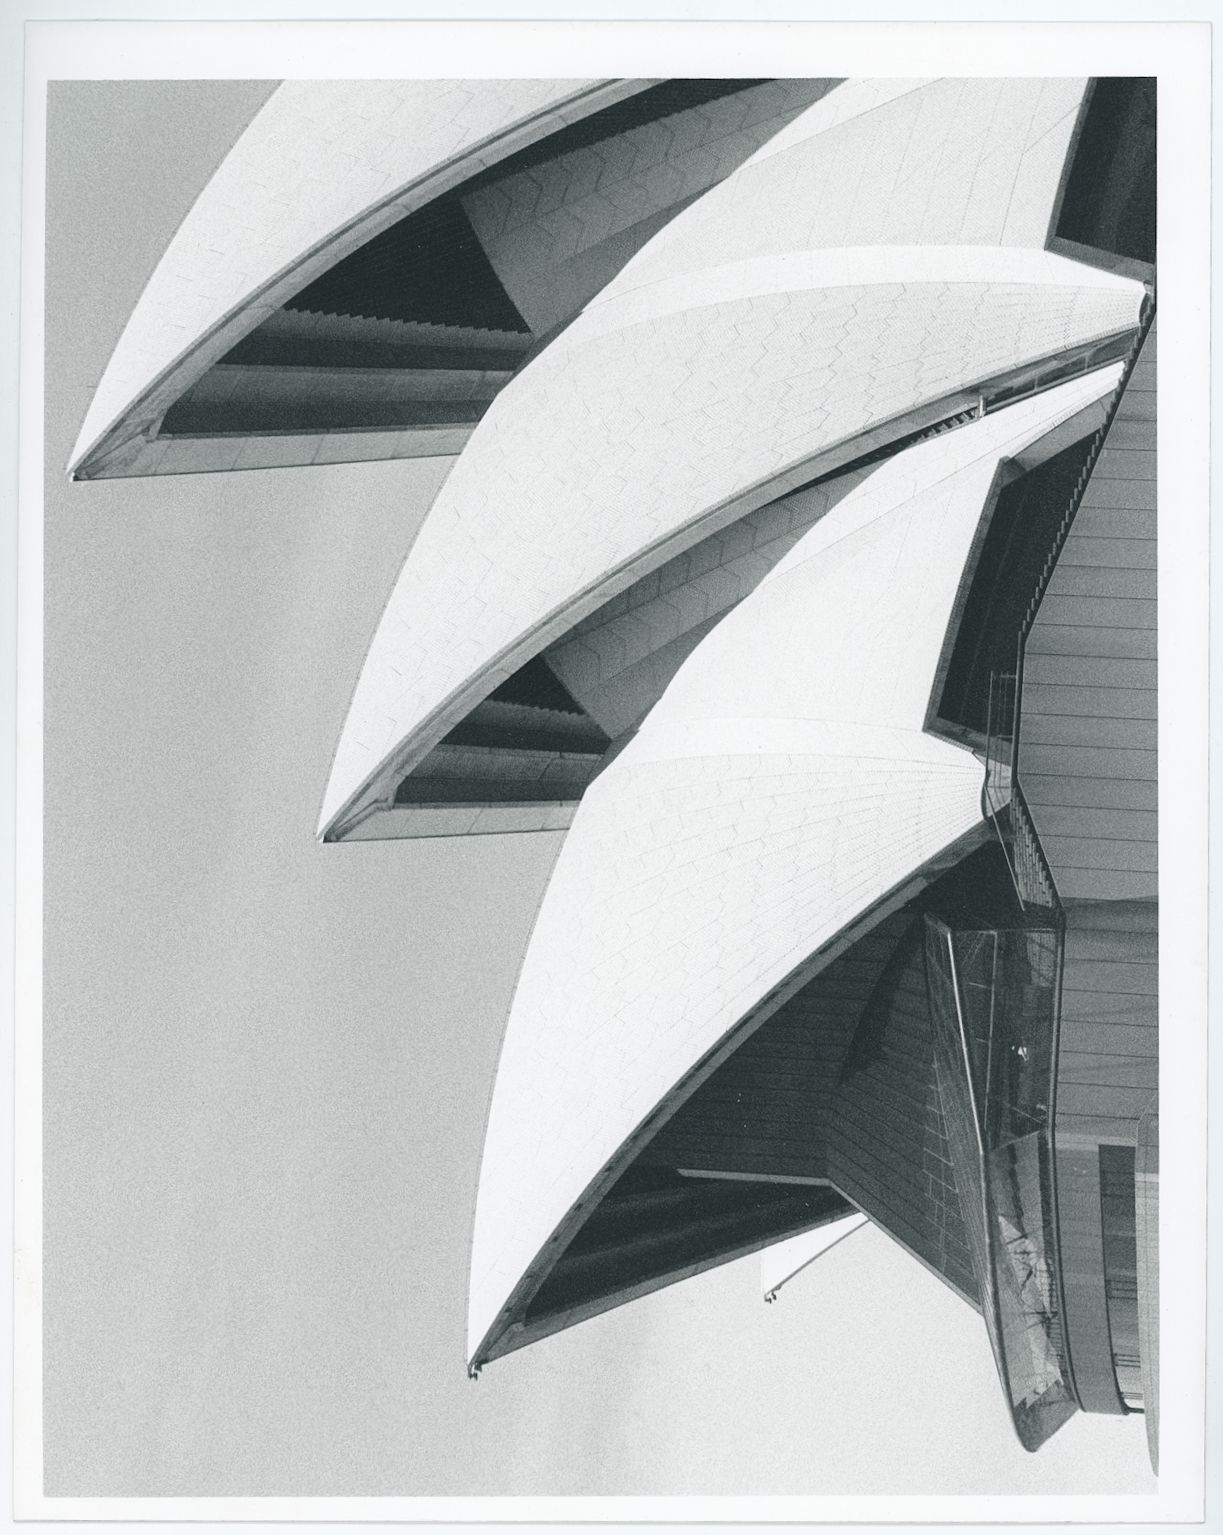
I’ve found the whole technique incredibly variable and I don’t do it often, but when it works it looks really cool!
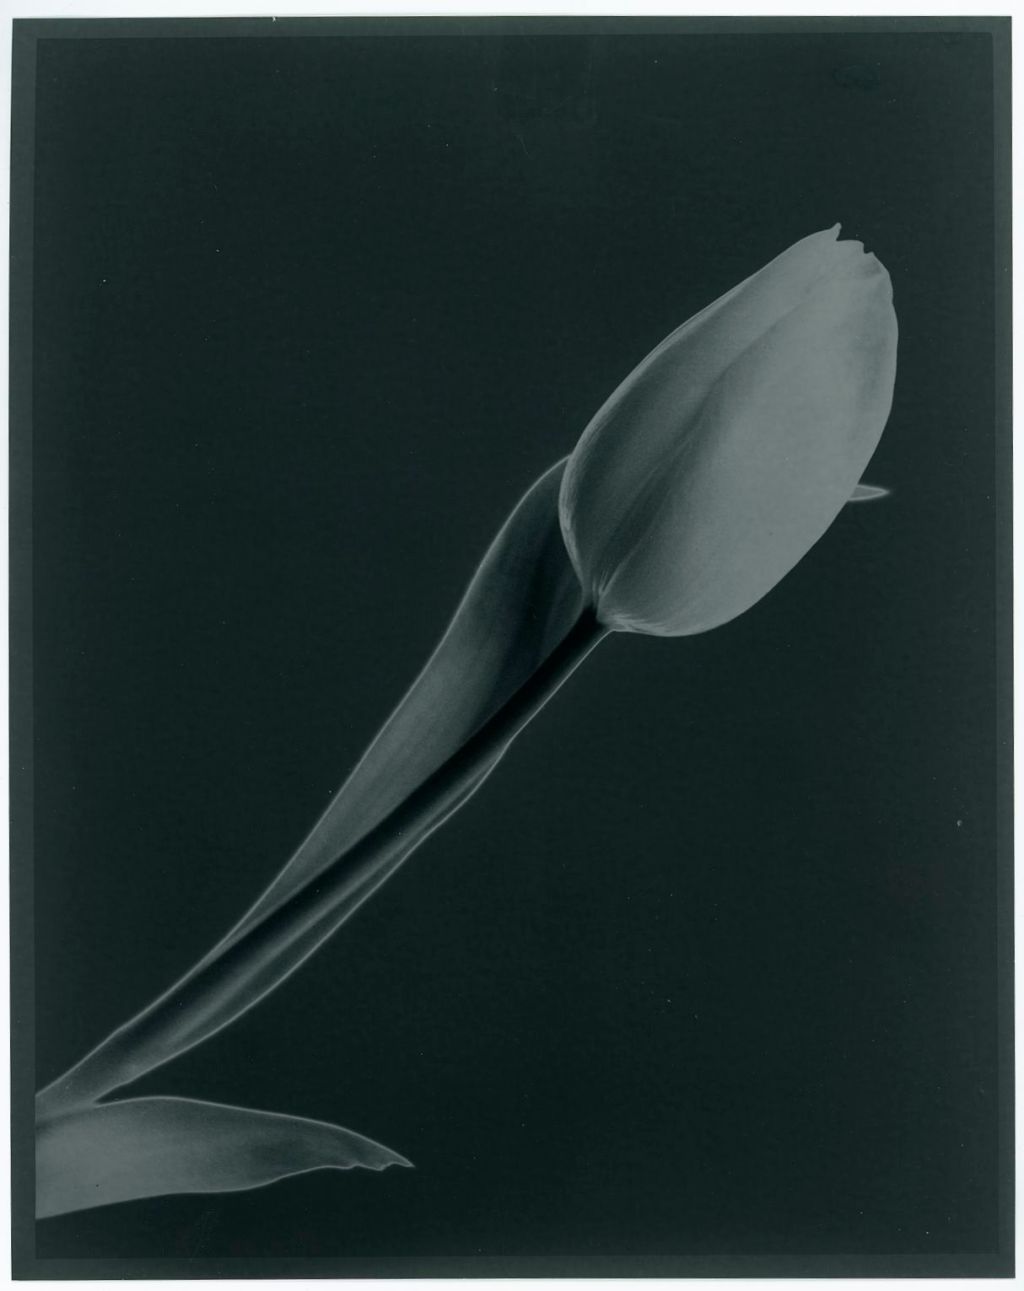
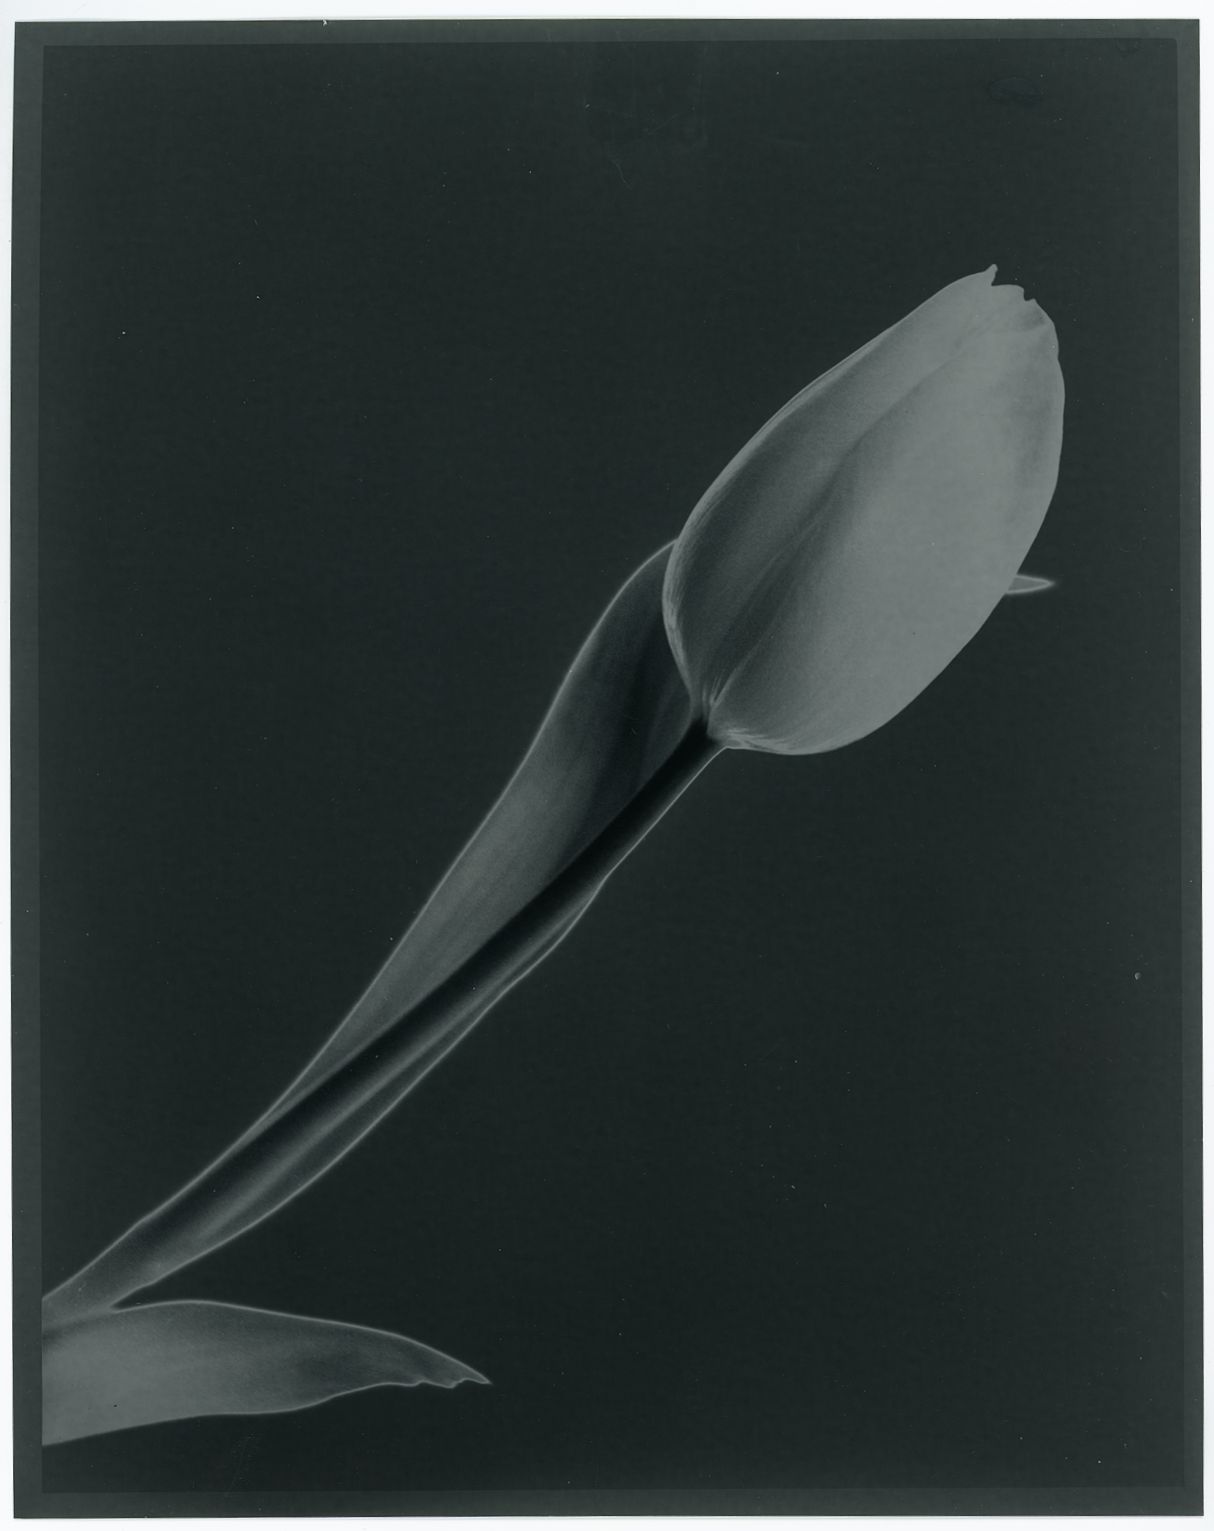
The first two were created in my old darkroom in Cambridge, where I had easy access to a light switch and I knew that a quick flick of the switch on and off for a fraction of a second would give me a great result in the highlights.
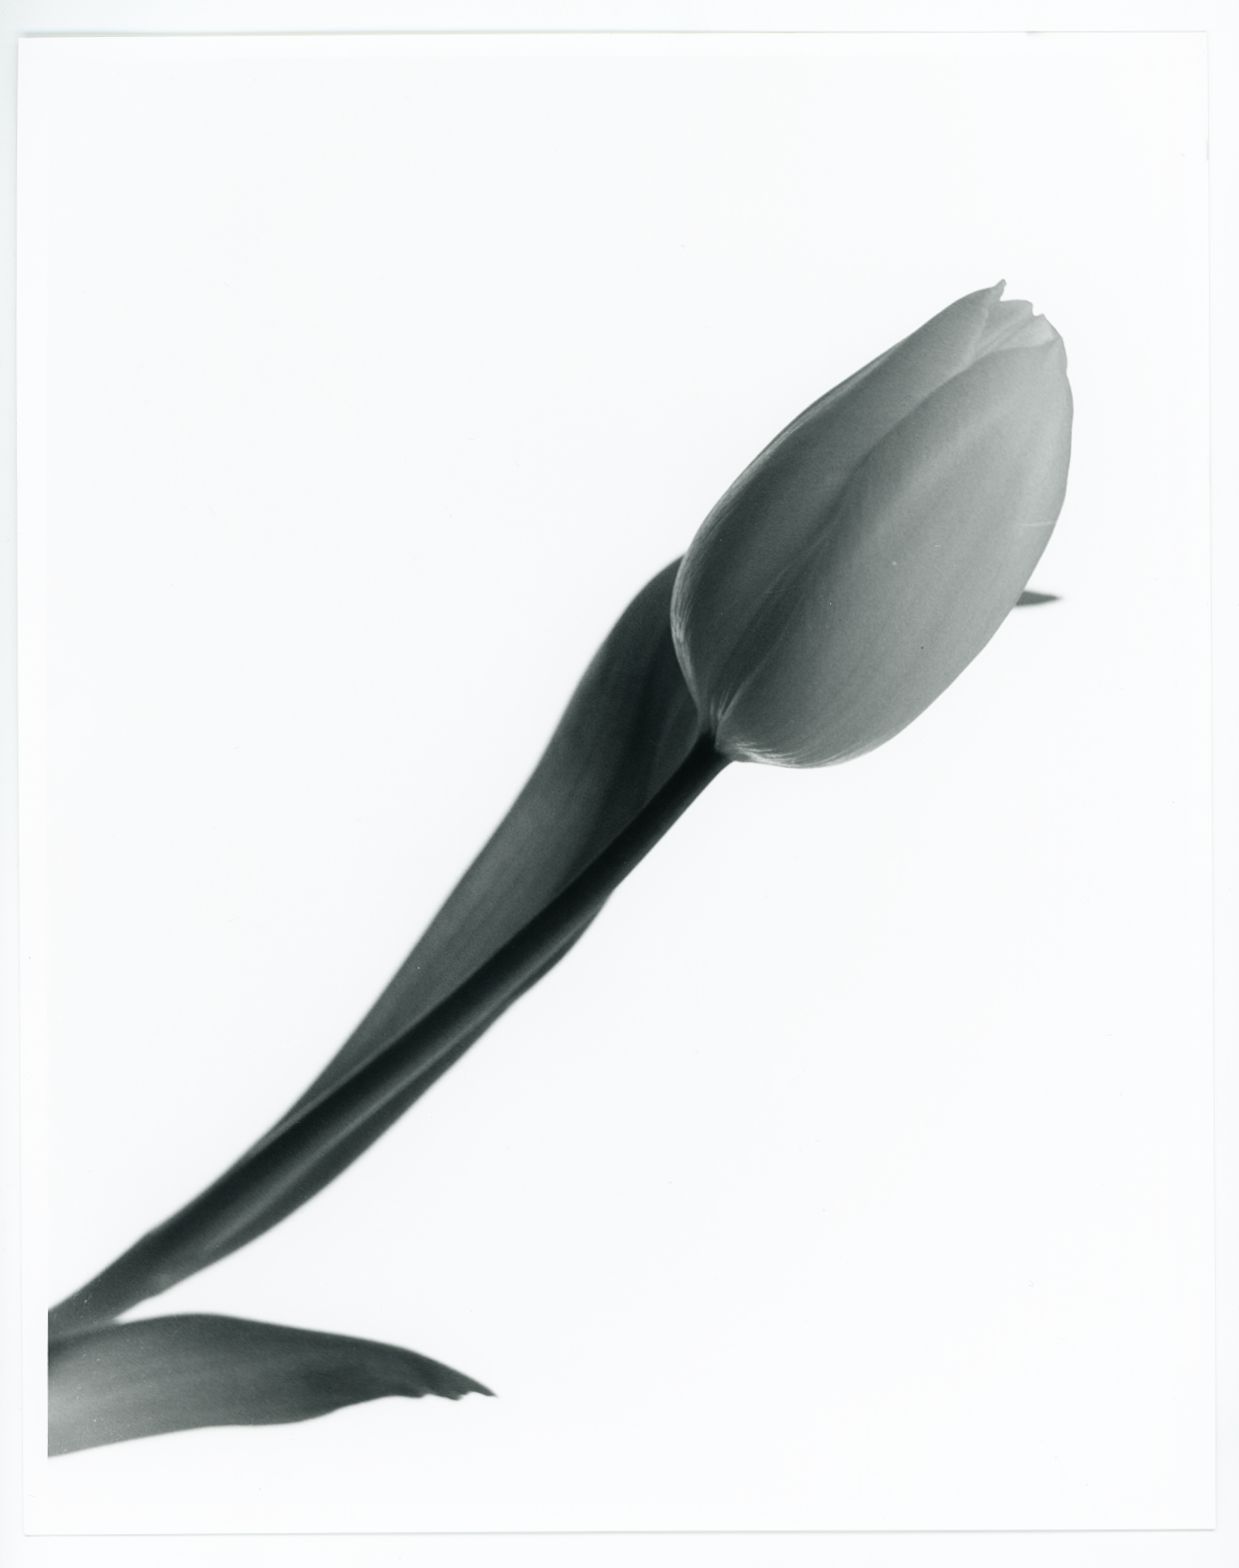
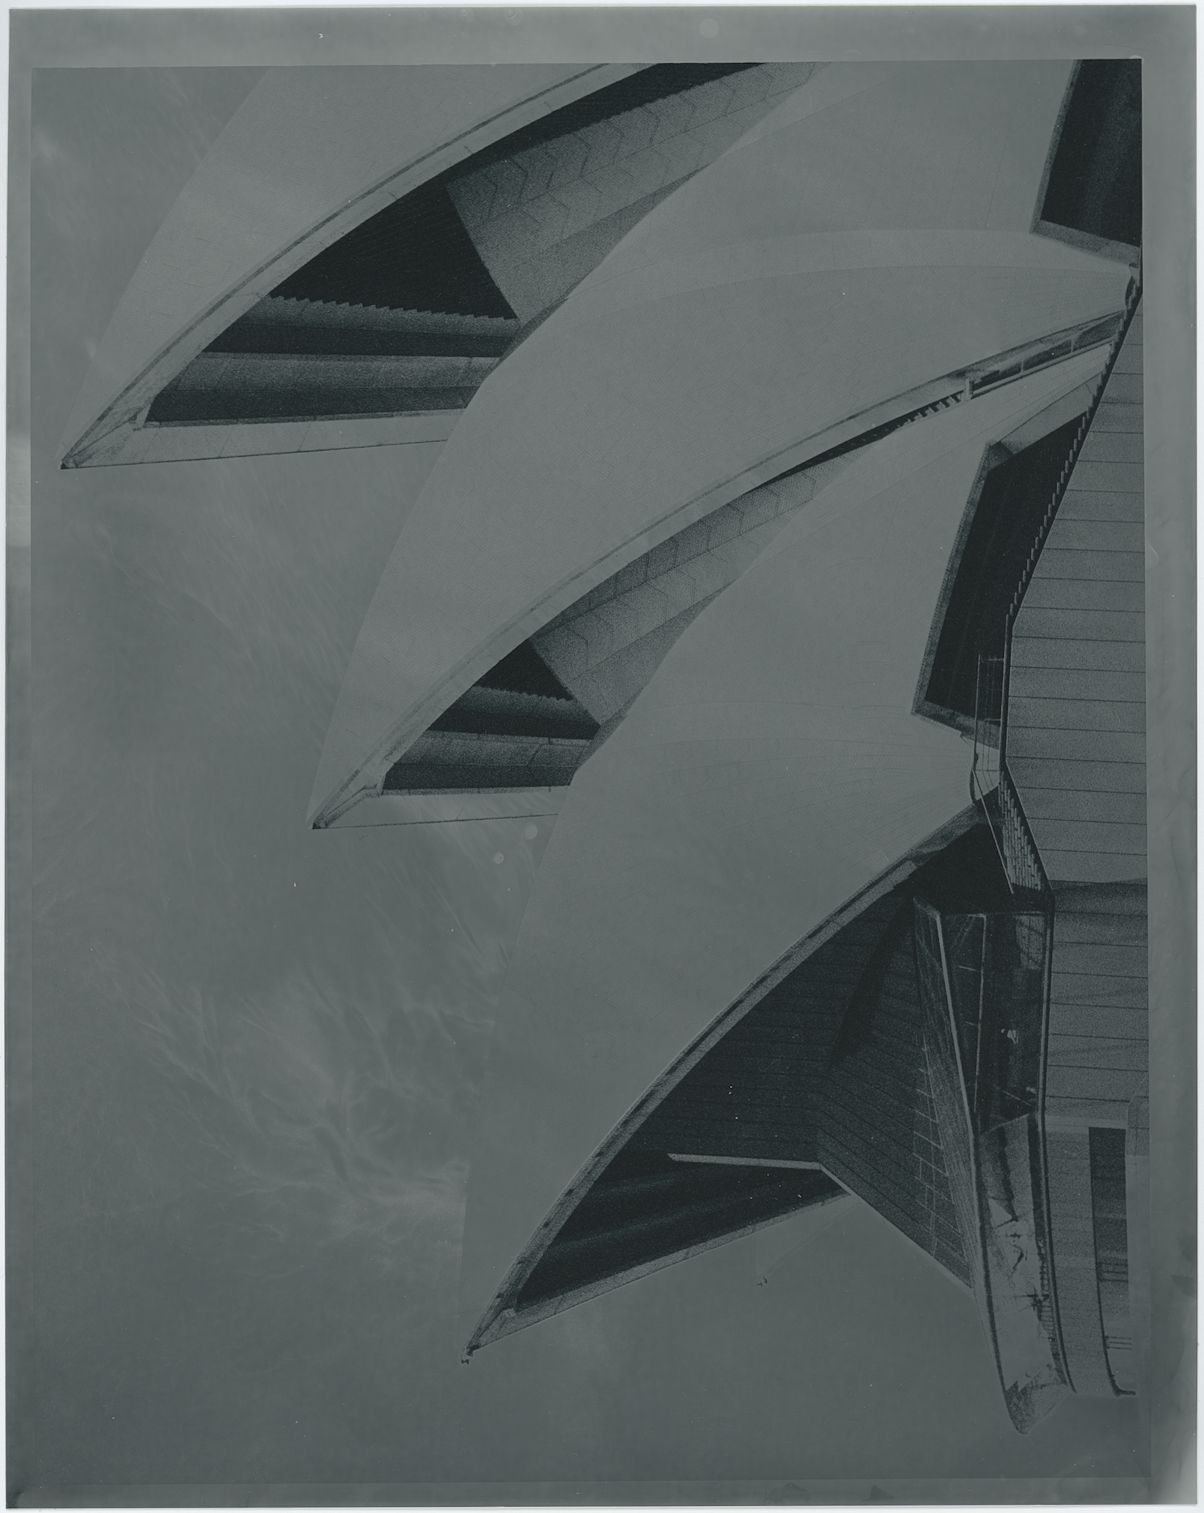
The third image, was created in the district darkroom coburg (Hi Bernie!) where I was able to flick the light on, but due to a difference in light source, distance etc, it took a bit of work to get it working again. My current home darkroom setup is in a laundry with fluoro tube lighting and I’ve just found it not reliable enough to produce the results I want. Once I redo the room, I’ll look at sorting out that light source.
To create these sorts of images you need to print as you normally would and then develop the paper. However, at a time determined by you, you take it out the dev before the print has had a chance to fully develop and whack on the white light for a short period of time. Then continue your development, stop and fix as normal. This works because the undeveloped silverhalides in the light areas of the image are still sensitive to light and therefore these parts will reverse and darken due to the white light source. It’s a skill to get this right!
Have you tried this technique? Has it worked for you? I’d love to see your examples

Leave a comment