
I’ve always loved the way black and white infrared film landscape images look. There’s something about the foliage standing out against a black sky that just sings to me.
As much as I love seeing those images, I had never actually made one myself. This was mostly due to the fact that I didn’t own an R72 filter. An R72 filter blocks all light below 720nm and so only wavelengths above that will pass through. This means you need a film that has sensitivity beyond the 720nm range. Back in the day there was a plethora of films to choose from including both colour and black and white. These days most (possibly all) the colour infrared has gone, and there’s on a few that are sensitive to the near infrared (beyond 720nm). Rollei and Ilford seem to be the main producers, but here in Australia it seems easier to get Ilford’s offering, SFX200.
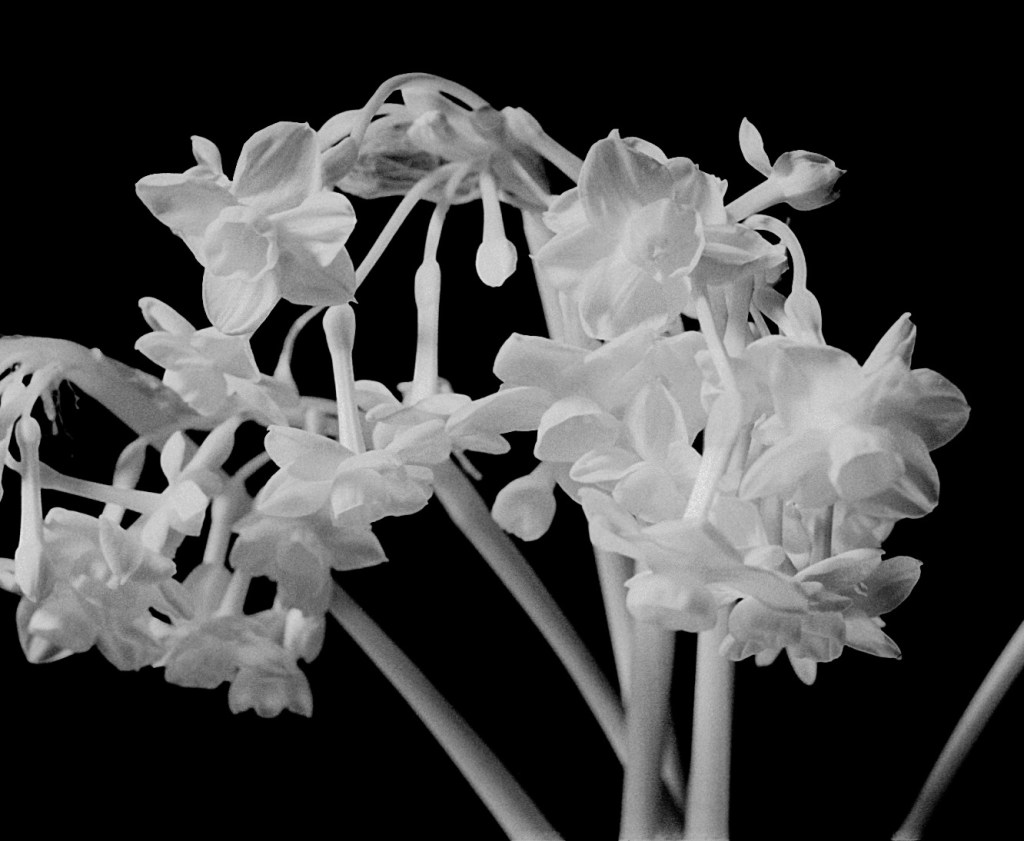
I did shoot one roll of Rollei Infrared 400 with some flowers, and it worked, but I much prefer the effects has on a landscape as a whole. Plus I think my arrangement was a bit meh:
I once bought a square infrared filter to use from a shop in the UK, and testing it compared to the B+W R72 screw filter showed that the cheap plastic square filter was rubbish. It was either not actually an infrared filter OR it blocked way more light than I realised. This made my my 6 stop exposure compensation for the R72 way off for the square filter.
My R72 in sized at 72mm so it works really well with my Mamiya RB67 and lens setups, but I can’t use it natively with my Bronica. As the Bronco gives me an extra 4 frames over the RB, I have purchased a step up ring. As a step up ring was cheaper than buying and processing more film.
All images on this post where from the RB67 paired with the 127mm Lens.
After taking the flower photos I just never found the time to take more images, which meant almost 6 months passed and I just didn’t do anything. Then this Easter (2025) I went camping in King Valley a few hours outside Melbourne. It’s a beautiful area, I highly recommend it. The camping was glorious with great weather and I was inspired to try Ilford SFX 200.
I loaded up my RB67, placed the beast in a tripod and decided to give it a go. My first frame, I forgot to pull out the dark slide but luckily realised before I moved the film on. so managed to save it. Next I tried the first frame again and somehow forgot how the RB works in T mode. You see, the shutter stays open until you cock the shutter again. For some reason I thought it stayed open for as long as I pressed the cable release which meant there was some movement in the image. I was much more pleased with my second and third recorded attempts. I also wanted to see how this film rendered details such as the dandelion clock. Lastly, as it was Infrared, I took photos of the campfire. This proved very tricky as my light meter wouldn’t work at this light level so I had to bracket those exposures. Shown below is the contact proof sheet.

The contact sheet was a little dark I must admit. I was using the enlarger at the Melbourne Camera club, not my own, and it certainly has it’s quirks I haven’t yet adjusted to. At the very least it allowed me to choose a couple of negatives to print at home. One other thing that’s probably quite likely, is that I underexposed the negatives making them fairly thing (which they are) and this caused the contact print to print rather dark. Especially as I printed for the base to go to max black. Such is life.
At home I have the Durst M670BW. Able to print images up to 6×7 (the RB67 format) but I lack the suitable lens to avoid vignetting (soon to be rectified). The 75mm I have is close but does fall off at the edges, so I tend to print square crops. I used to also have an LPLc7700 which is what I would usually print medium format on, so this was also the first time I got to test the Dursts medium format capabilities.
At f/11 and about 7×7 I had a ridiculously low print time on Ilford MGV RC paper, around 2seconds Gr0 and 5seconds Grade 5. I might have to figure out some form of ND filter system just to cut the light by a stop or two, especially if I end up with thing negative again. I’m not sure if this is a product of incorrect exposure or under development. I’ll print a few more negs with different films, maybe it’s an Infrared thing.
I do really like Ilford’s MGV, it came up really nicely, but I’ve also been wanting to try Warmtone fibre paper for a while.
As my settings from MGVRC tend to give me a good ball park figure for MGFB I tried that first at grade 2. Around 8 seconds.

That didn’t work. Back to test strips.
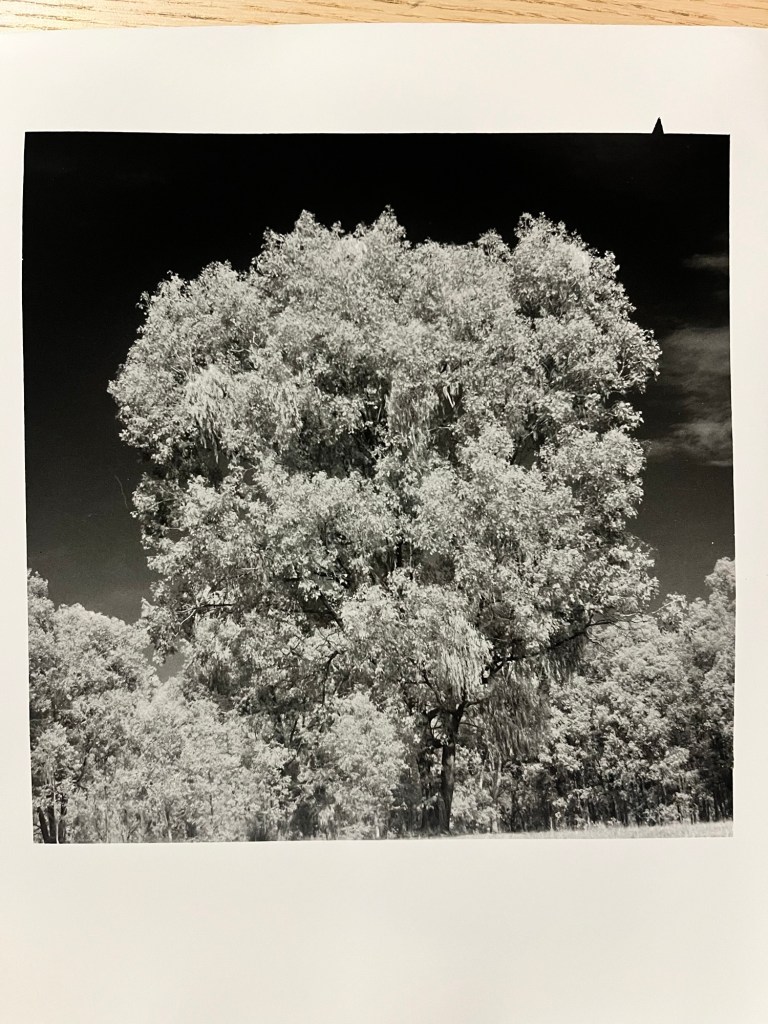
This gave me a rough guide of 10 seconds at grade 0 and 20 seconds grade 5. Dodging 10 seconds during the grade 5 on the trees in front kept them nice a light.

Having successfully printed this image I got a bit cocky and printed a couple more that has wonky borders. Considering the price of Fibre paper, an expensive mistake.
I next wanted to go for broke on Frame 3. As the images were shot very close to each other with exactly the same light and settings, I chose to brave it and print one test strips at the previous settings. With that looking good I printed a full sized image.
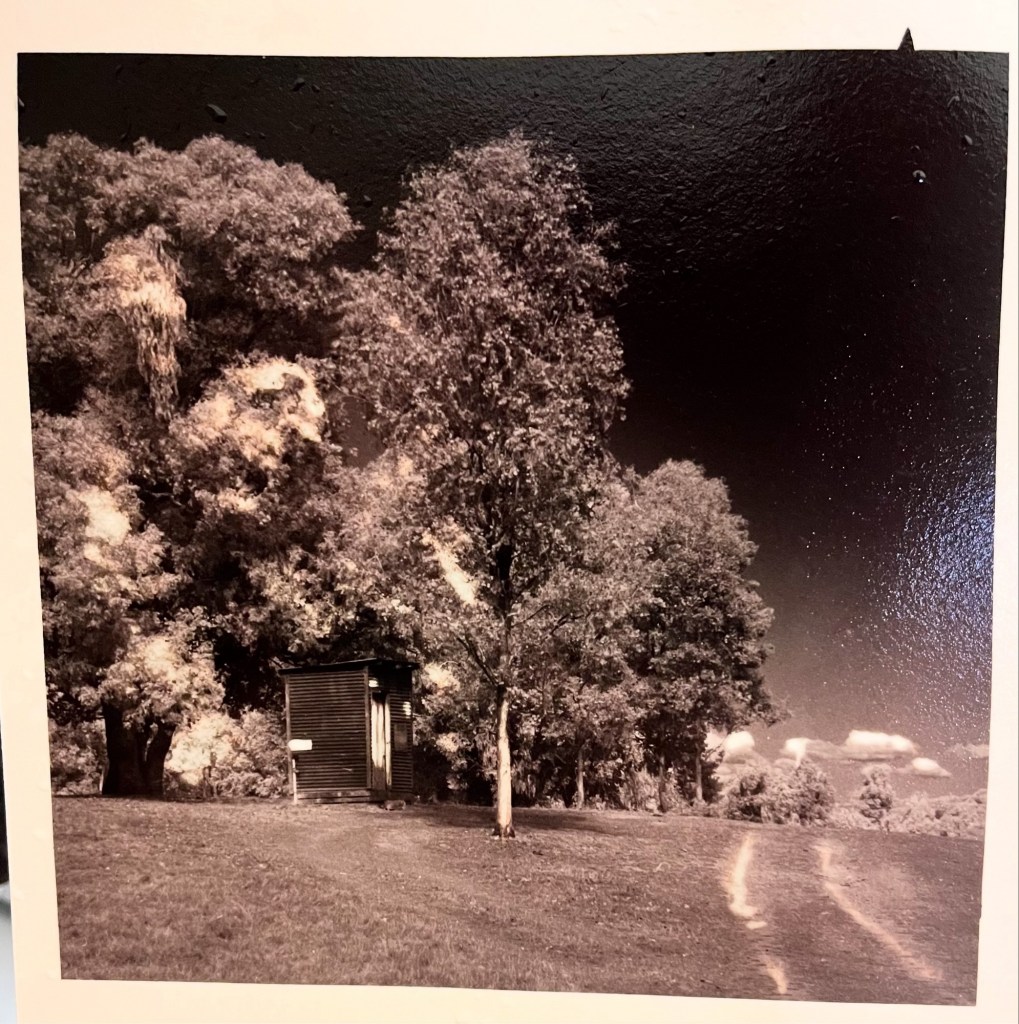
This is where Warmtone FB really came into its own. If never had much luck selenium tonigh RC prints, but Warmtone FB tones really nicely in 1 minute! Prior to toning I decided to practice a bit of selective bleaching to bring out a few highlights. I probably went a bit too far and didn’t realise how much it would get accentuated by the toning. On the whole, I’m pretty happy with how it turned out for a first pass, and now I know the settings I should be able to print another when I get around to it.

Leave a comment