I never used to make contact prints. They just seemed pointless to me. Why bother with 35 of the 36 images when you’re only going to really print 1 maybe 2 and you can see those on the light table?
I was completely wrong.
I have recently started printing contact proofs for all my rolls and man has it changed my appreciation of not only the contact proof but also my shooting. I watched a youtube video by @distphoto (check his channel out, it is really good), and he convinced me I should be doing more proof prints. The biggest advantage is that I can see across the whole roll, which images are in focus but importantly which images are shot with the correct exposure. This allows me to decide how i’m going to try and print ay images from the roll.
It also gives me a rough estimate to start my print times.
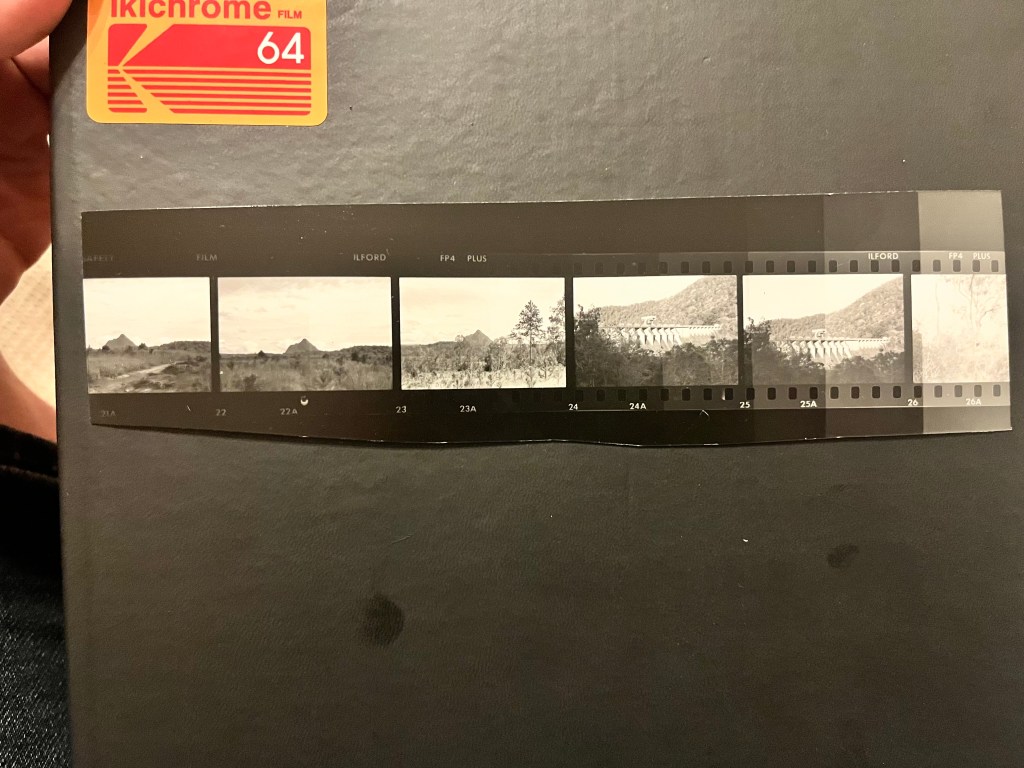
For the test strip I made increments of 10 seconds at f/8 and what I was looking for was where the film base blends with the DMax of the paper. This was around 60 seconds.
As you can see, the paper reaches DMax way before the film base. It’s important to note that at this stage I am NOT looking at the images at all, just the film base. I could have probably used the clear bit of the film leader but I prefer to use an actual strip.
Once I locked in 60 seconds I then printed the strip again for 60seconds f/8 Grade 2.

If you look closely, you can actually still see the sprockets and so I should maybe have gone for 90 seconds, but this mostly served the purpose I required. The other thing to think about is that there is a difference between 10 seconds (times 6) and 60 seconds in one hit. Which is potentially where I went wrong, so be it.
As a side note, John Finch over at @pictorialplanet describes a different way and prints his contact prints for the highlights, leaving the shadows to be where they are and prints slightly darker. He then uses a light table to evaluate each image on the paper to shine through the back and that way he can see what is recrded in each image. I have not tried this method.
About 5 minutes into this video
I then decided to do a full print at 60 seconds f/8.
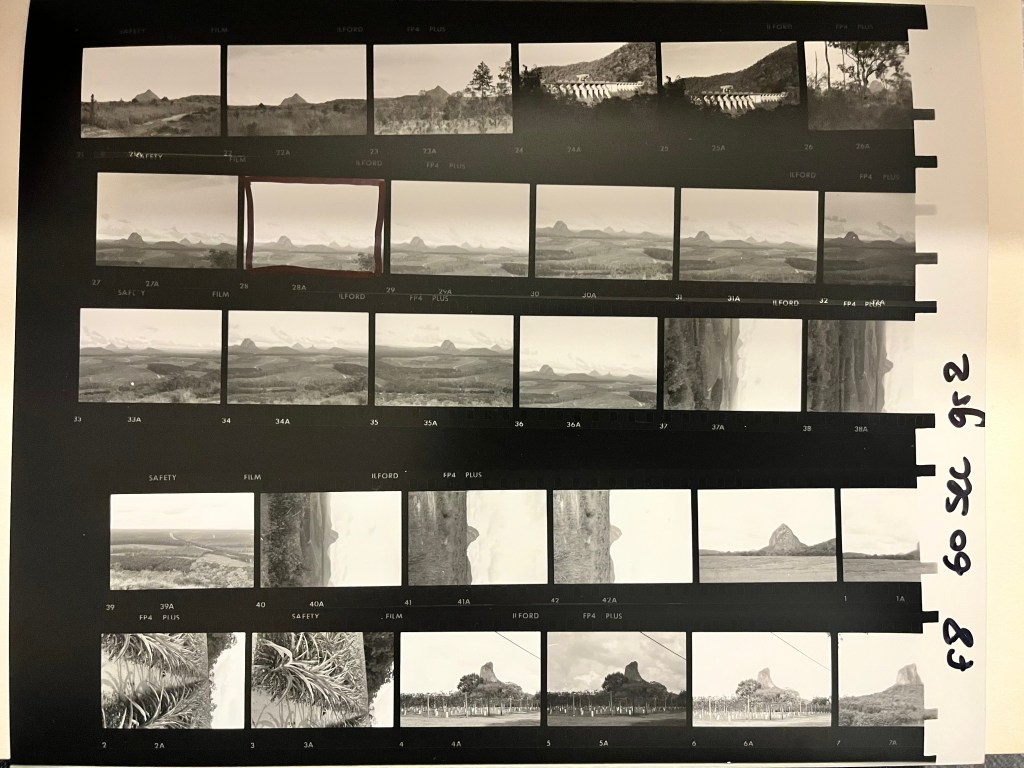
Having printed the contact proof I can now start to evaluate which image I want to print and roughly what setting that should be.
I decided I wanted to print frame 28. I chose frame 28 over the similar 27 because the foreground was lighter and would give me a bit of play in the image. In truth I could have chosen either, but I was doing this as part of a darkroom course teaching some complete newbies the basics, so I chose this frame and moved on.
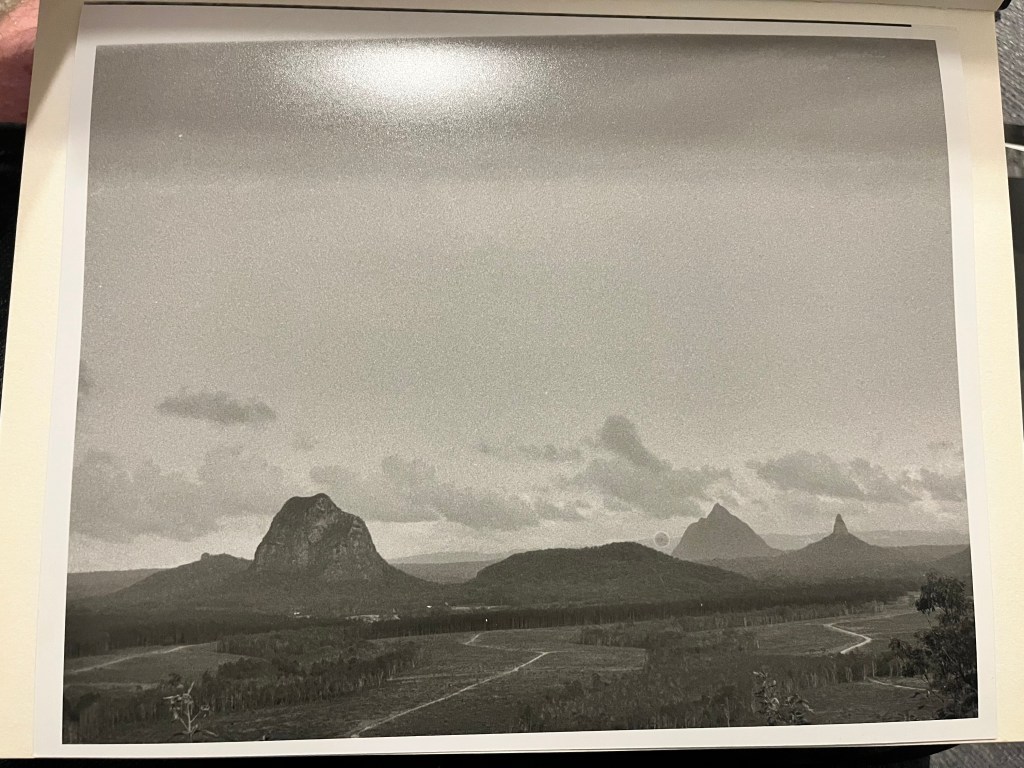
And here is a test print. I decided after looking at the test strip that I needed to give the sky about a stop extra to burn in the sky, and I could probably have gone a stop and a half. But as a test print, that’s not bad. There are a few things that will need tidying up such as whatever that spot is on the horizon and maybe darkening down the the immediate foreground.
As I said this particular print was done as a test to show some new printers how to go through the different motions and so I wasn’t able to work further on this print. Additionally I was using the Meopta Enlarger at the Melborune Camera Club, and so all my settings and timings are right for that enlarger. I shall have to reprint the test print on my enlarger at home (Durst M670BW), as the timings will probably be different. These were also printed on MGIV as this was what was available for the course, but I will be using MGV which hasa. much better tonal range.
For anyone interested this is an image of the Glasshouse Mountains, Queensland from the Whitehorse Lookout on the Sunshine Coast.

Leave a comment